
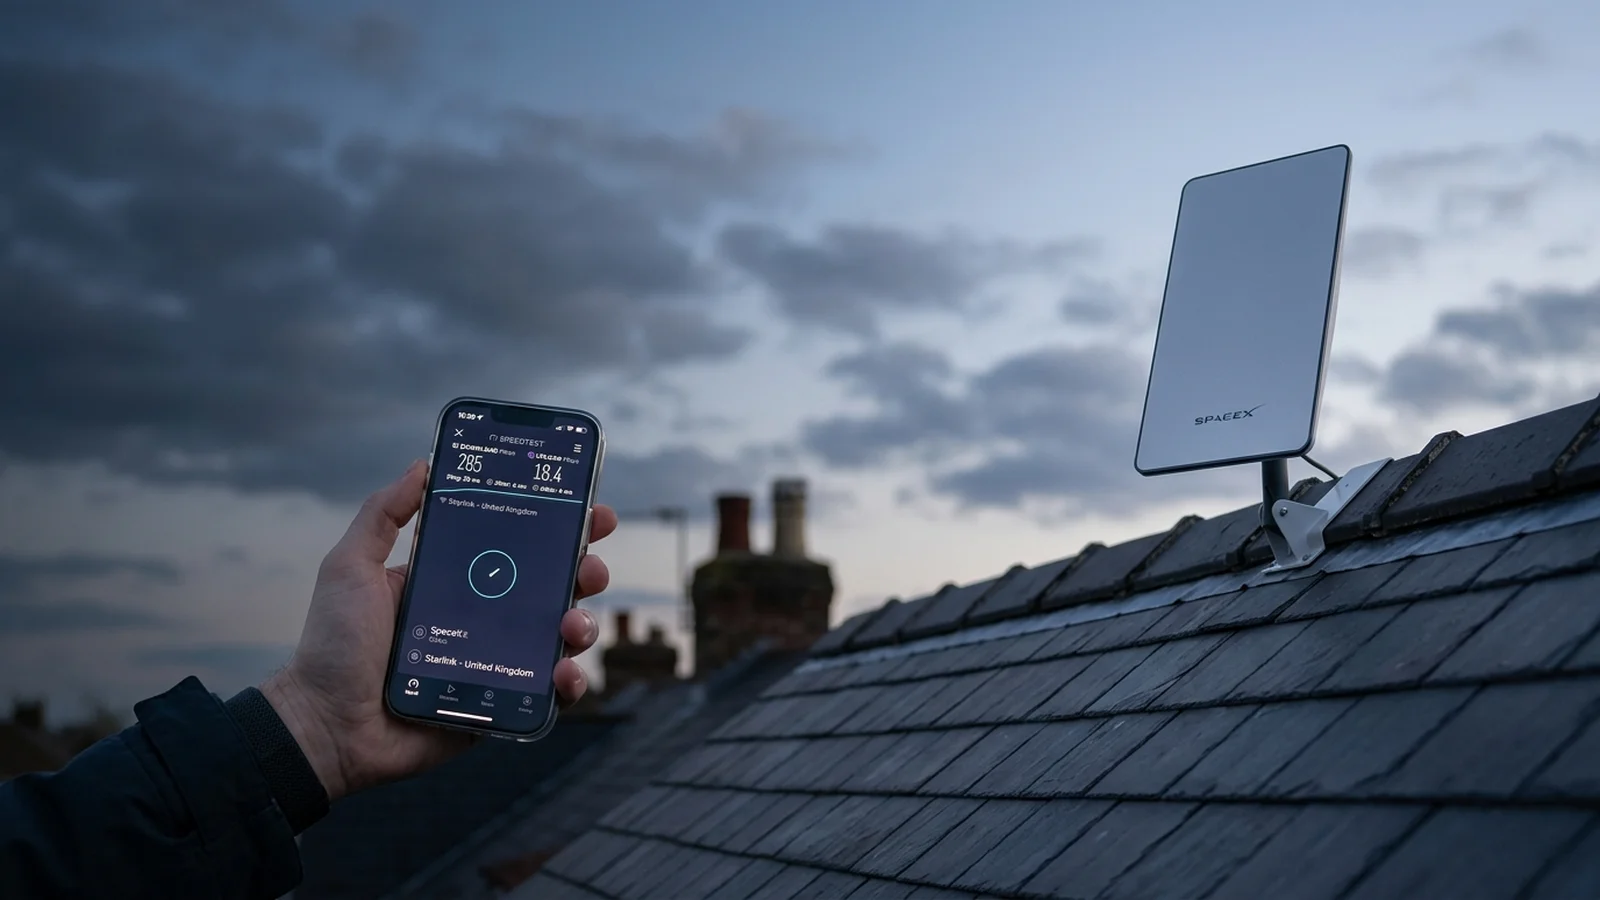
Setting up professional Starlink installation in a spacious UK home or rural farmhouse frequently reveals a common networking hurdle: the standard router provided by SpaceX struggles to penetrate 500mm stone cavity walls, foil-backed insulation, and multi-storey layouts. Putting your system into Bypass Mode and pairing it with a high-performance commercial mesh system is the definitive trade solution to unlock full gigabit roaming across your entire property.
⚠️ The Double NAT Trap Explained
Plugging a third-party router (such as TP-Link Deco, Ubiquiti UniFi, or eero Pro) into your Starlink router without enabling Bypass Mode creates a "Double NAT" network architecture. This forces data packets through two competing firewalls and routing tables, introducing 15–30ms of unnecessary latency, causing packet loss on Zoom/Teams calls, and triggering "Strict NAT" errors that break Xbox and PlayStation multiplayer matchmaking.
1. What is Starlink Bypass Mode & Why Is It Essential?
Bypass Mode completely disables the Wi-Fi transmission radios and internal routing engine of the Starlink router. Instead of acting as an access point and DHCP server, the unit transforms into a pure modem and Power-over-Ethernet (PoE) injector. All IP management, firewall security, traffic prioritisation, and local device addressing are handed over exclusively to your preferred third-party router or mesh network.
This configuration is crucial for British homes where Wi-Fi coverage cannot be solved by a single central router. As detailed in our guide on mesh Wi-Fi vs hardwired access points, thick masonry absorbs high-frequency 5GHz signals within 8 to 10 metres. By bypassing the default router, you can deploy multiple access points connected via structured Cat6 Ethernet data cabling for flawless whole-home coverage.
2. Hardware Requirements: Gen 3 Standard vs Gen 2 Actuated
Double NAT Network Conflict vs Starlink Pure Modem Bypass Mode
Packets cross two competing DHCP servers and firewalls (Starlink Router + Mesh Router). Causes +25ms latency spikes, Strict NAT in gaming, and broken VPN tunnels.
Starlink router disables internal Wi-Fi and DHCP, passing raw public IP directly to your mesh WAN. Low ping, Open NAT, and seamless gigabit roaming across all rooms.
The hardware steps required to enable Bypass Mode depend on which generation of SpaceX hardware you have installed at your property:
| Feature | Starlink Gen 2 (Actuated) | Starlink Gen 3 (Standard V4) |
|---|---|---|
| Ethernet Ports | 0 Built-in (Requires £35 Dongle) | 2 x Built-in Gigabit RJ45 Ports |
| Bypass Toggle | In-App Software Switch | In-App Software Switch |
| Reverting to Default | Power cycle 6 times consecutively | Rear pinhole reset button (press 3s) |
| Recommended Cable | Cat6 UTP Patch Lead (1Gbps) | Cat6 or Cat6A Shielded Patch Lead |
If you have the older Gen 2 rectangular dish with the motorized neck, you must purchase the official proprietary Starlink Ethernet Adapter before you can physically wire your third-party router. If you have the newer Gen 3 flat-panel standard kit, as reviewed in our Starlink Gen 3 UK installation guide, you can plug directly into Ethernet Port 1 under the protective rubber cover on the rear of the router.
3. Step-by-Step Bypass Configuration Protocol
Follow this exact procedure to avoid getting locked out of your network during setup:
-
Step 1: Verify Initial Starlink Link
Ensure your Starlink dish has completed its initial satellite acquisition and the status reads "ONLINE" in the official app, delivering normal speeds. -
Step 2: Connect Hardware Cables
Run a high-grade Cat6 patch cable from Starlink LAN Port 1 into the WAN / Internet Port of your third-party mesh router. -
Step 3: Access Starlink App Settings
Open the Starlink App on your mobile device > tap Settings > tap Advanced > locate the Bypass Starlink Router Mode toggle. -
Step 4: Confirm and Apply Bypass Mode
Slide the toggle to enabled. A prompt will warn you that built-in Wi-Fi will shut down. Confirm the action. Within 30 seconds, the Starlink default Wi-Fi network will disappear. -
Step 5: Setup Your Third-Party Mesh Network
Connect to your mesh system's setup Wi-Fi network and launch its companion app (e.g. UniFi Network, Deco, or eero). Set the WAN connection type to Automatic IP (DHCP). -
Step 6: Optimise DNS Settings for Lower Ping
Change your primary and secondary DNS servers on your mesh router to Cloudflare (1.1.1.1and1.0.0.1) or Google (8.8.8.8). This reduces DNS resolution latency by 15–25ms compared to the default satellite DNS relay.
4. Accessing Starlink Dish Statistics in Bypass Mode
Homeowners frequently worry that enabling Bypass Mode will prevent them from checking dish alignment, obstruction maps, or satellite telemetry in the app. Fortunately, you can still access the dish interface reliably:
- Native App Access: Most modern routers automatically route traffic to the dish's local IP address (
192.168.100.1) without any manual configuration. Simply opening the Starlink app while connected to your mesh Wi-Fi will load your live dish telemetry. - Static Route Configuration: If the app fails to connect, log into your mesh router's admin console and add a static route: Destination IP
192.168.100.1, Subnet Mask255.255.255.255, Gateway/Interface: WAN Port.
Double NAT Elimination & VLAN Network Architecture
BLUF Direct Answer: Enabling Bypass Mode on the Starlink Gen 3 router deactivates its internal Wi-Fi and DHCP server, passing the public IP directly to a third-party mesh router or firewall to prevent Double NAT packet collisions, DNS latency, and gaming connection drops.
When running two routers in series—such as leaving the Starlink Gen 3 router active while plugging in a TP-Link Deco, Ubiquiti UniFi, or eero mesh system—network traffic undergoes Network Address Translation (NAT) twice. This creates Double NAT, which breaks port forwarding for CCTV NVR remote viewing, causes strict NAT type warnings on PlayStation/Xbox consoles, and introduces 15ms to 30ms of unnecessary processing latency.
In Bypass Mode, the Starlink router functions purely as a Gigabit PoE bridge. The external third-party mesh system handles all IP address assignment, traffic prioritization (QoS), guest VLAN isolation for smart home IoT devices, and multi-node gigabit backhaul across Cat6 cabling.
| Network Feature | Default Starlink Router | Bypass Mode + Pro Mesh (UniFi / Deco) |
|---|---|---|
| NAT Configuration | Double NAT if mesh added | Single Clean NAT (Direct Public IP) |
| VLAN IoT Isolation | Not supported | Full 802.1Q VLAN Segmentation |
| Hardwired Ethernet Backhaul | 2 ports only | Scalable 8-port to 24-port PoE switch |
| Console Gaming NAT Type | Moderate / Strict | Open NAT / Type 1 |
Garden Office & Outbuilding Broadband Method Decider
Find the optimal transmission medium between your main home and garden studio based on trenching practicality, line of sight, electrical earthing zones, and distance.
How to Enable Starlink Bypass Mode & Connect a Mesh Network
Step-by-step instructions to configure Starlink bypass mode and integrate third-party mesh Wi-Fi.
Connect Third-Party Mesh Router WAN Port
Run a Cat6 patch cable from Starlink Gen 3 Ethernet port 1 directly into the WAN port of your mesh system.
Open Starlink App Settings
Launch the Starlink app on smartphone, select Settings > Advanced > Bypass Mode.
Confirm Bypass Activation
Toggle the switch and confirm prompt; the Starlink router will disable its internal Wi-Fi SSID within 30 seconds.
Configure Mesh PPPoE / DHCP Setup
Open your mesh router app (e.g. UniFi or Deco) and verify WAN IP is acquired automatically via DHCP.
5. Best Mesh Wi-Fi Systems for Large UK Properties
Based on hundreds of field installations across Yorkshire and Lancashire, here are our recommended mesh platforms when pairing with Starlink:
Ubiquiti UniFi Cloud Gateway
The gold standard for multi-building estates and barn conversions. Delivers deep packet inspection, VLAN segmentation for IoT, and dedicated POE outdoor access points for garden offices.
Best for: Estate & Business ReliabilityAmazon eero Pro 6E
Tri-band Wi-Fi 6E performance with true zero-configuration client steering. Exceptional roaming performance when moving between rooms with smartphones and tablets.
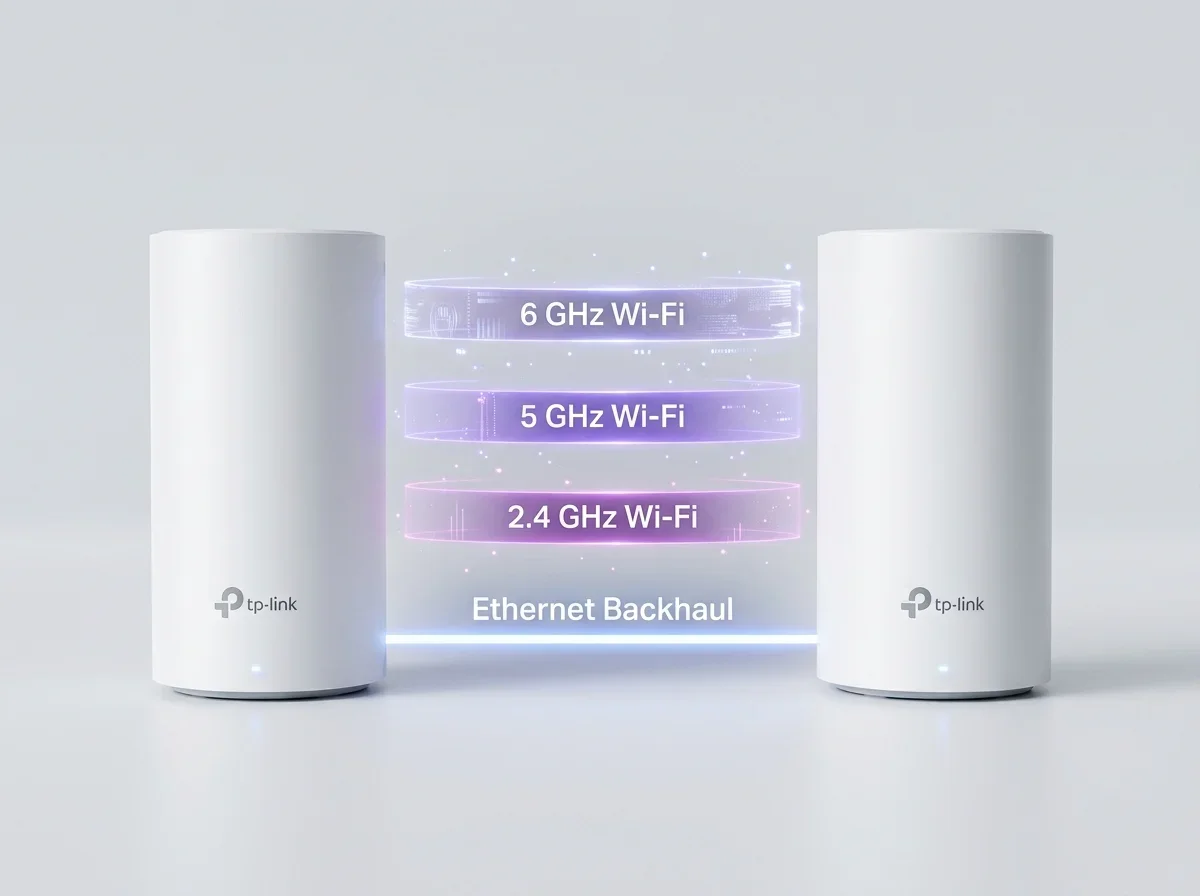
Best for: Seamless Whole-Home RoamingTP-Link Deco XE75 Pro
Affordable 6GHz dedicated wireless backhaul with 2.5Gbps WAN ports. Excellent wall penetration capabilities and straightforward smartphone management app.
Best for: Cost-Effective Multi-Room MeshIf you are planning to extend broadband out to a detached garden room or barn studio, explore our comprehensive guide on garden office Wi-Fi solutions or review our professional home Wi-Fi installation services. For outdoor cable durability, be sure to read our engineering advice on running external Cat6 cables safely.