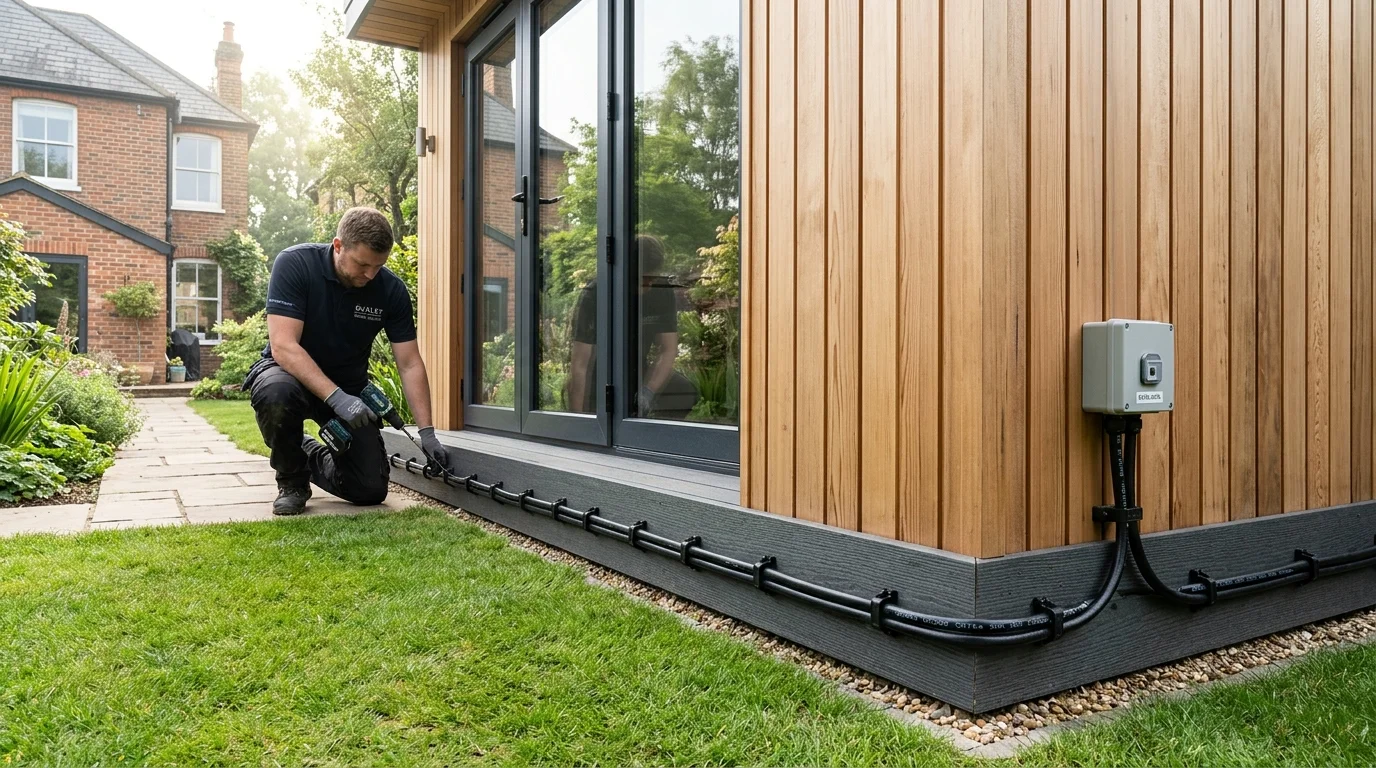

Achieving a neat, leak-free professional Starlink installation requires far more than simply pointing the dish at the open sky. In the UK, with frequent horizontal driving rain, sub-zero winters, and dense brick cavity walls, routing the Starlink cable from the roof into your living space demands strict adherence to engineering standards. Botched drilling and inadequate sealing can cause permanent damp, blown brick faces, and expensive water ingress into cavity insulation.
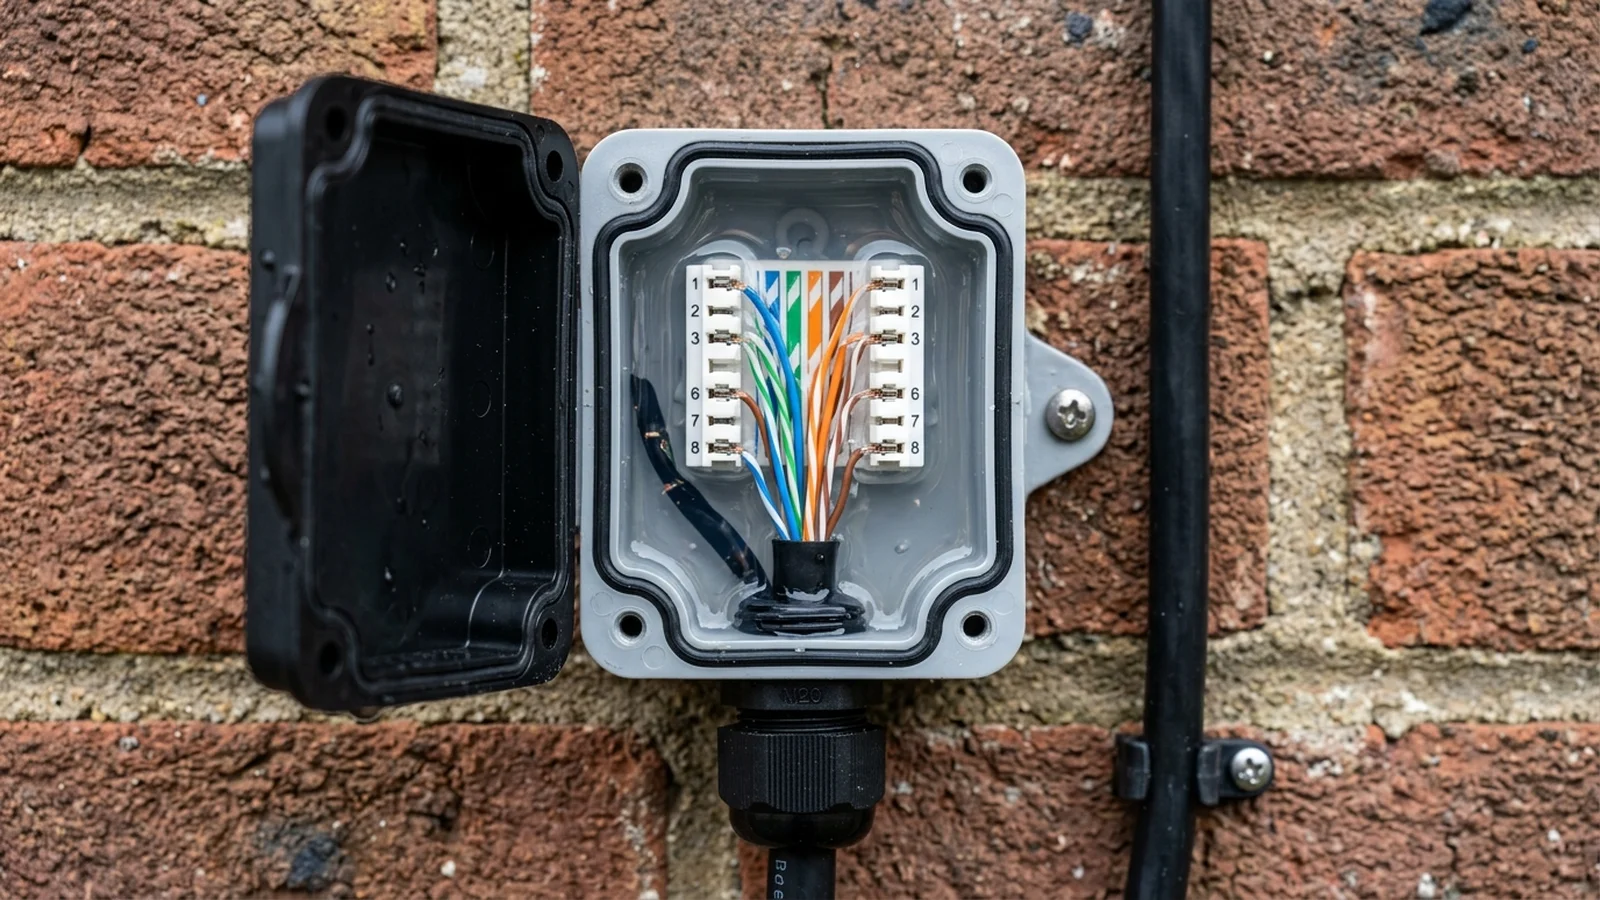
🛠️ The Critical Rule of Masonry Drilling
Always drill from the inside of the property to the outside, or angle your drill bit with a 5 to 10 degree downward slope towards the exterior. This ensures that any condensation or wind-driven rainwater tracking along the cable sleeve naturally drips away from the building rather than running inward into your drywall or cavity.
1. Starlink Cable Anatomy: Gen 3 Standard vs Gen 2 Connectors
Understanding the physical diameter of your Starlink connector determines the required hole size and entry technique:
- Starlink Gen 3 (Standard V4): Utilizes a standard shielded Cat6 Ethernet cable terminated with ruggedised RJ45 connectors fitted with protective rubber weather collars. The connector requires an 18mm to 20mm drill bit to clear the moulded collar without damage.
- Starlink Gen 2 (Actuated): Utilizes a proprietary USB-C style connector with an asymmetric right-angled boot. The dish-end connector requires a 19mm hole, while the router-end connector requires a 22mm hole if passing through thick masonry.
Crucial Trade Advice: Never attempt to slice, cut, or crimp a Starlink Gen 2 proprietary cable unless you are using commercial IP68 gel-filled couplers, as detailed in our guide on exterior cable repairs and weatherproofing. High-voltage PoE carries up to 100 watts of power to run the internal snow-melt heaters; poor terminations can fry the dish's internal phased-array receiver.
2. Avoiding Blown Brick Faces: Professional SDS Drilling Technique
Masonry Entry Geometry: Downward 5° Slope & 100mm U-Bend Drip Loop
British brickwork—especially post-war engineering bricks and historic Victorian facing bricks across Yorkshire and Lancashire—is prone to "spalling" (blowing off a saucer-sized chunk of the brick surface) if drilled incorrectly.
Our engineers employ a two-stage drilling methodology:
- Pilot Hole: Drill a small 6mm pilot hole through the mortar line or centre of the brick using rotary-only mode (hammer turned off) to verify internal clearance behind skirting boards or radiators.
- Full Bore Drilling: Switch to a 20mm or 22mm x 450mm SDS masonry bit. Drill from the outside with moderate pressure. As the bit approaches the interior leaf, reduce forward pressure significantly so the bit cleanly cuts the plasterboard rather than punching out a ragged drywall crater.
3. Drip Loops, Wall Bushings & Neutral-Cure Weatherproofing
A professionally routed entry point features three distinct lines of defence against moisture ingress:
| Component | Correct Trade Practice | Amateur Mistake to Avoid |
|---|---|---|
| Drip Loop | 100mm U-bend looping BELOW the entry hole | Cable sloping directly downwards into hole |
| Sealant Chemistry | Low-modulus neutral-cure silicone (Dow Corning 791) | Acid-cure silicone (acetic acid degrades Cat6 jacket) |
| Grommet / Bushing | UV-stabilized split wall cable grommet | Bare cable rubbing against jagged brick hole edges |
| Cable Fasteners | Black UV-rated clips with hardened steel pins every 350mm | White indoor clips (perish in UV sunlight within 12 months) |
4. Internal Routing: Brush Plates vs In-Wall Chasing
Once the cable enters the property, maintaining a tidy interior appearance is essential. In luxury homes or modern dot-and-dab developments, nobody wants thick black cables snaking across carpets:
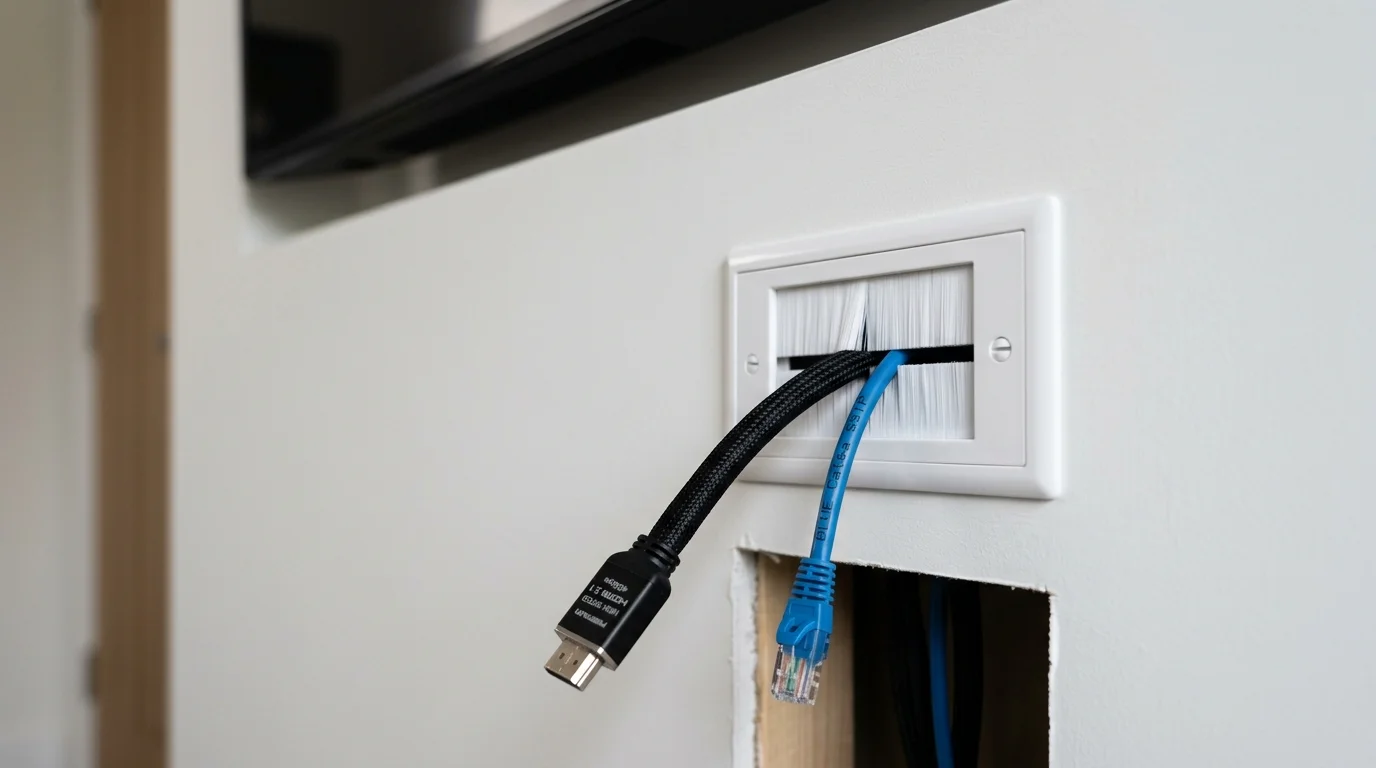
- Single-Gang Brush Faceplates: Installing an architectural brush faceplate flush in the drywall allows the Starlink cable to emerge neatly behind a media console or sideboard without pinching.
- Loft Void Traversal: Whenever possible, we route the cable into the roof space or loft via the soffit or gable eaves. From the loft, the cable can drop down through an internal stud partition or utility cupboard, keeping the entire exterior run invisible from the street.
- Architectural D-Line Trunking: For solid brick chimney breasts or historic stone properties where internal wall cavity drops are impossible, paintable D-line quadrant trunking along the skirting board provides an unobtrusive, zero-damage finish.
Building Penetration & Drip Loop Weatherproofing Protocols
BLUF Direct Answer: Professional Starlink cable routing requires an upward-sloping 10mm masonry drill hole, silicone cable feedthrough bushings, and a generous external drip loop to prevent driving rain tracking along the black UV-jacketed Cat6 cable into internal wall cavities.
The Starlink Gen 3 standard kit utilizes a proprietary RJ45 connector that is bulkier than bare Cat6 wire. Forcing this connector through an undersized wall hole or pulling it without a protective sheath can shear the factory-moulded rubber o-ring, voiding the IP67 weather seal at the dish base.
ADI Communications uses heavy-duty SDS rotary hammer bits drilled from inside-out at a 15-degree downward angle. We install an IP65 rated rubber wall grommet with UV-resistant neutral-cure silicone sealant. On internal walls, brush faceplates or modular RJ45 keystone sockets create a neat architectural finish matching existing electrical sockets.
| Routing Method | Hole Diameter | Water Ingress Protection | Visual Finish |
|---|---|---|---|
| Drilled Masonry with Drip Loop | 10mm - 12mm SDS | 100% Waterproof (Bush + Silicone) | Flush external grommet & internal brush plate |
| Window Frame Pinch (DIY) | No drill (Pinched in seal) | Poor (Destroys window draft seal) | Crushed wire; fire/failure risk |
| Soffit & Loft Drop | 10mm into ventilated soffit | High (Protected from direct rain) | Zero external surface cables visible |
Starlink & Aerial Structural Mount & Gale Tolerance Calculator
Calculate the required steel mast gauge, bracket standoff clearance, and lashing cradle tension needed to withstand up to 90mph UK Atlantic storm gusts with 0.0° beam deflection.
How to Route Starlink Cable into a UK House Safely
Professional drill and waterproofing procedure for Starlink dish cable entry.
Check Internal Wall Cavity for Pipes & Wires
Use a multi-material wall scanner to ensure no mains electrical cables or heating pipes lie behind the drill site.
Drill at 15-Degree Downward Slope
Drill a 10mm hole angled downward toward the outside so gravity naturally repels rainwater.
Form a Circular Drip Loop
Leave a 150mm circular downward cable curve outside below the hole before pushing cable through.
Seat Wall Grommet and Silicone Seal
Push the split silicone grommet into the masonry hole and seal around the perimeter with exterior-grade clear silicone.
5. Complete Installation Equipment Checklist
Before undertaking a cable feed-through, verify you have all essential consumables:
For more architectural tips, explore our guide on how to hide cables without wall chasing. If you are mounting your dish on a chimneystack or apex, read our comparison on Starlink chimney mounting vs roof apex brackets. For weather resilience, check our findings on Starlink in high winds and snow.